
Create a Color Lookup Table
- May 29, 2018
- 2 min read
Using Adjustment Layers to create your own Color Lookup Table (LUT) using Photoshop
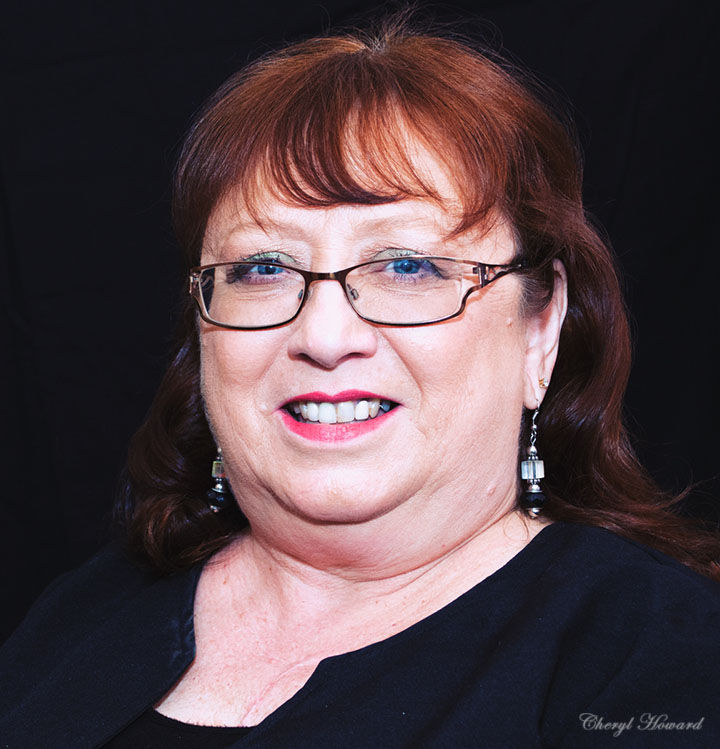
Open an image – this is “Mona” a previously edited image I had in my Library. I use Adobe Photoshop CC 2018.
Here are the steps I used to go from this…

…to this!
In Photoshop, click on the “Adjustment” icon and click “curves”
Use the hand tool to darken the shadows and increase the highlights
Increase the blues in the shadows and decrease the blues in the highlights
Decrease the greens in the shadows and increase the greens in the highlights
Increase the reds in the mid-tones
You can increase or decrease these to your specific taste depending on the type of image you choose.
Add another curves adjustment layer; use the hand tool to increase the highlights
Add a “photo filter” adjustment layer; scroll through and choose one you like. I chose a “cooling filter” for this photo. You can increase or decrease the opacity of the filter as you like.
Increase vibrance (from the “Adjustment” icon); then move this layer under the photo filter layer.
Add a Black and White adjustment layer, then change the blend mode to “luminosity”; by doing so this only affects the brightness of the colors. Increase or decrease to taste.
Add another curves adjustment layer and darken the shadows slightly. You control the effects in all these adjustments layers; so you can go to the extreme in your adjustments or make only modest adjustments.
Then save these steps as a preset LUT. Go to “File” > Export > Color Lookup Table. In the dialog box enter a description for your work – I chose “Stylish.” Set quality to medium and format to CUBE, make sure to uncheck all the other boxes under format. There you have it your own Color LUT!!!
Go out and be creative!


Comments